White adhesive ceramic tile pads, adhesive felt Abdeck Vlies for floor protection, white adhesive paint,
How to Use White Adhesive Ceramic Tile Pads for a Professional Finish
White adhesive ceramic tile pads are an easy and effective way to achieve a professional finish on any tiling project. These pads are designed to provide a secure and even bond between the tile and the surface, ensuring a long-lasting and attractive finish. Here is a step-by-step guide to using white adhesive ceramic tile pads for a professional finish.
1. Prepare the surface. Before applying the tile pads, make sure the surface is clean and free of dust, dirt, and debris. If necessary, use a damp cloth to wipe away any dirt or grime.
2. Apply the tile pads. Peel off the backing from the tile pads and press them firmly onto the surface. Make sure the pads are evenly spaced and that they are firmly adhered to the surface.
3. Place the tiles. Once the tile pads are in place, you can begin to place the tiles. Make sure the tiles are level and that they are firmly pressed into the adhesive.
4. Grout the tiles. Once the tiles are in place, you can begin to grout them. Make sure to use a high-quality grout that is designed for ceramic tiles.
5. Seal the grout. Once the grout has dried, you can apply a sealant to protect it from moisture and dirt. This will help to ensure a long-lasting and attractive finish.
By following these steps, you can easily achieve a professional finish with white adhesive ceramic tile pads. With the right preparation and care, you can ensure that your tiling project looks great for years to come.
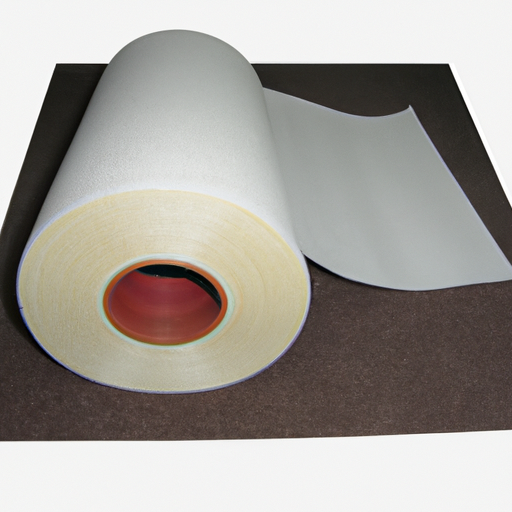
The Benefits of Adhesive Felt Abdeck Vlies for Floor Protection
Adhesive felt Abdeck Vlies is a great option for floor protection. This product is a self-adhesive felt that is designed to protect floors from scratches, dents, and other damage. It is easy to install and can be used on a variety of surfaces, including wood, laminate, and tile. Here are some of the benefits of using adhesive felt Abdeck Vlies for floor protection.
First, adhesive felt Abdeck Vlies is highly durable. It is made from a strong, tear-resistant material that is designed to last for years. This makes it an ideal choice for protecting floors from everyday wear and tear. Additionally, it is waterproof, so it can be used in areas where there is a risk of water damage.
Second, adhesive felt Abdeck Vlies is easy to install. It comes with an adhesive backing that makes it simple to apply to any surface. This makes it a great choice for DIY projects, as it can be applied quickly and easily.
Third, adhesive felt Abdeck Vlies is cost-effective. It is much cheaper than other floor protection options, such as carpeting or vinyl flooring. This makes it a great choice for those on a budget.
Finally, adhesive felt Abdeck Vlies is aesthetically pleasing. It comes in a variety of colors and patterns, so it can be used to match any decor. This makes it a great choice for those who want to add a touch of style to their floors.
Adhesive felt Abdeck Vlies is an excellent choice for floor protection. It is durable, easy to install, cost-effective, and aesthetically pleasing. It is the perfect solution for those looking to protect their floors from everyday wear and tear.
Tips for Applying White Adhesive Paint for a Smooth Finish
1. Prepare the surface: Before applying white adhesive paint, make sure the surface is clean and free of dust, dirt, and debris. Use a damp cloth to wipe down the surface and allow it to dry completely.
2. Prime the surface: Priming the surface will help the paint adhere better and provide a smoother finish. Use a high-quality primer that is designed for the type of surface you are painting.
3. Use a high-quality paint: Choose a high-quality white adhesive paint that is designed for the type of surface you are painting. Make sure the paint is compatible with the primer you used.
4. Apply the paint: Use a brush or roller to apply the paint in even strokes. Start at the top and work your way down. Make sure to overlap each stroke to ensure an even finish.
5. Allow the paint to dry: Allow the paint to dry completely before applying a second coat. This will help ensure a smooth finish.
6. Sand the surface: Once the paint is dry, use a fine-grit sandpaper to lightly sand the surface. This will help remove any imperfections and provide a smoother finish.
7. Apply a sealant: Once the surface is sanded, apply a sealant to protect the paint and provide a glossy finish.